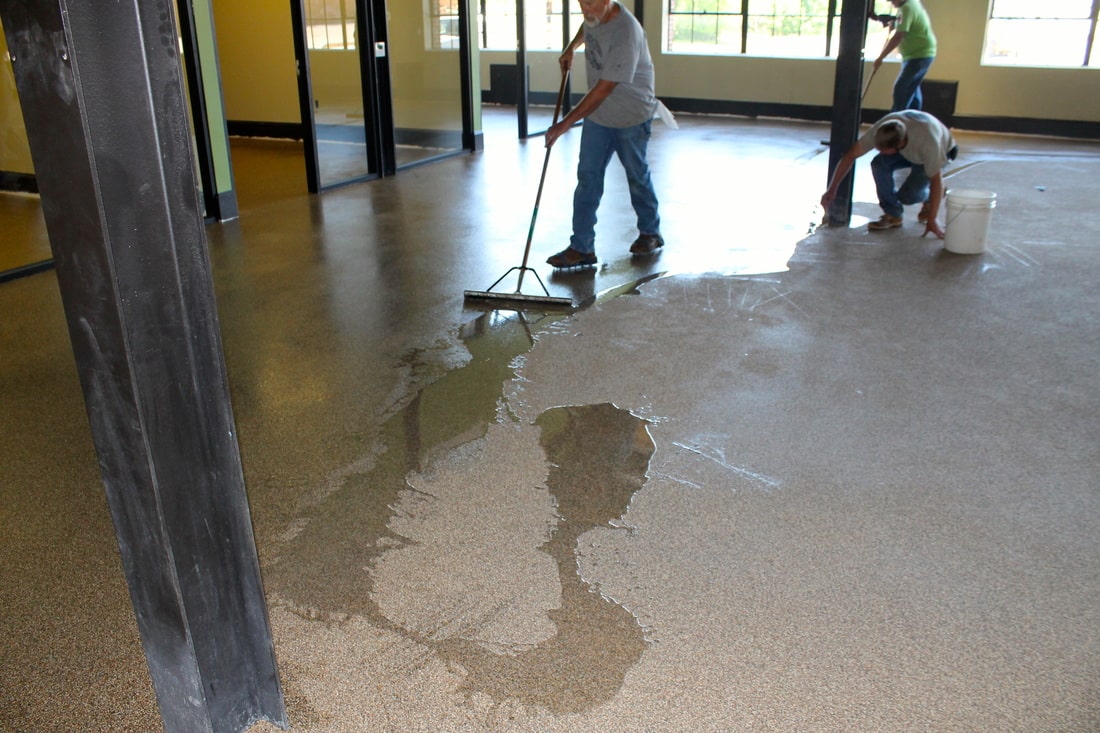
How To Use Epoxy Filling For Stone Tile In San Diego?
Stone tiles are a beautiful, durable, and natural choice for both interior and exterior flooring. One of the challenges faced by homeowners and contractors alike is dealing with the imperfections and cracks that can appear over time. Epoxy filling is a popular solution that not only rectifies these issues but also adds longevity to the stone tiles. Here’s a step-by-step guide on how to use epoxy filling for stone tile:
-
Select the Right Epoxy Resin
When it comes to stone tiles, it’s crucial to select an epoxy resin that’s specifically formulated for stone or tiles. This ensures maximum adhesion and longevity. Epoxy resin for stone typically dries clear or can be tinted to match the stone’s color.
-
Clean the Stone Tile
Before you apply epoxy filling, make sure the stone tile is free from dirt, grease, and any loose debris. Clean the area with a mild detergent and water, then rinse thoroughly. Let the surface dry completely before proceeding.
-
Mix the Epoxy Resin
Always follow the manufacturer’s instructions when mixing epoxy resin. Usually, it involves combining a resin and a hardener in a specific ratio. Mix them thoroughly until you get a consistent blend.
-
Fill the Imperfections
Using a spatula or a putty knife, apply the mixed epoxy resin to the cracks, gaps, or imperfections on the stone tile. Ensure the filling is level with the tile’s surface and spread it evenly to avoid creating bumps.
-
Remove Excess Epoxy
Before the epoxy hardens, it’s crucial to remove any excess. Use a flat edge, like a scraper or the edge of a credit card, to scrape away the extra epoxy. This ensures a smooth, even surface.
-
Allow the Epoxy to Cure
Epoxy resin takes time to harden or cure. The curing time varies depending on the product and environmental conditions. In most cases, it’s recommended to wait at least 24 hours before walking on the stone tile. Check the manufacturer’s guidelines for specific curing time.
-
Sand and Polish (if necessary)
For a perfect finish, once the epoxy has completely cured, sand the area lightly with fine-grit sandpaper to achieve a smooth surface. Afterward, polish the stone tile to restore its shine and ensure a seamless appearance.
-
Clean and Seal
Once you’re satisfied with the epoxy fill, clean the stone tile to remove any residue or dust. Consider applying a stone sealer for additional protection and to enhance the natural beauty of the stone.
FAQs
Can Epoxy Filling Be Used On All Types Of Stone Tiles?
Epoxy filling is versatile and can be used on most types of stone tiles, including marble, granite, travertine, and slate. However, always read the product specifications to ensure compatibility.
What If The Epoxy Filling Does Not Match The Color Of The Stone Tile?
Epoxy resins are available in a range of colors. Some are clear, allowing the natural color of the stone to show through, while others can be tinted. If you’re concerned about the match, you can use tinted epoxy or add coloring agents to better match the stone tile.
How Long Does Epoxy Filling Last On Stone Tiles?
When applied correctly, epoxy filling can last for many years. It provides a strong and durable bond, making it an excellent choice for repairing stone tiles. However, the lifespan also depends on the wear and tear the floor faces.
Conclusion
Dial (858) 952-0777 to reach San Diego Tile Grout Cleaning for stone repair services.
Contact San Diego Tile Grout Cleaning Today at (858) 952-0777 to clean your grout! Our technicians are fully trained and will ensure that all your tiles are carefully cleaned. Furthermore, our cleaning service is affordable. Contact us today for a quote or any questions you may have.


