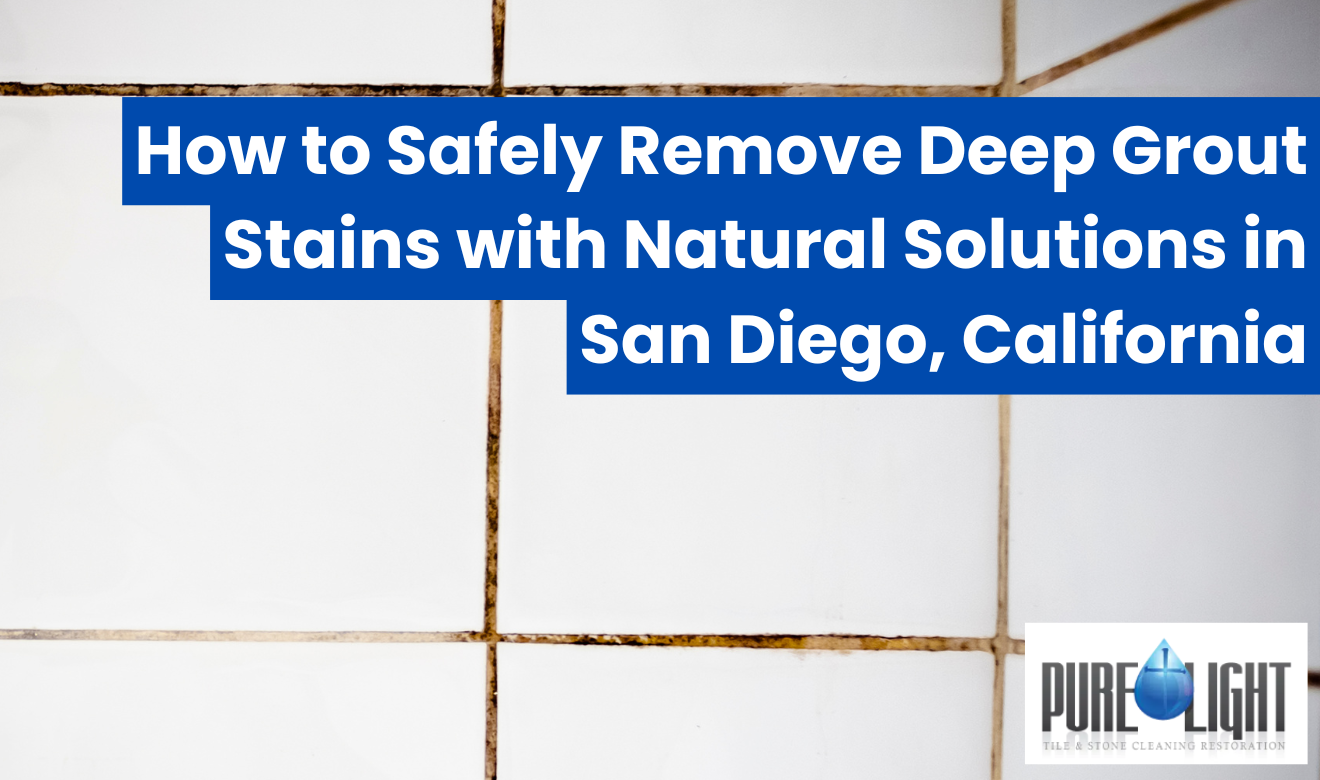
Executive Summary
Deep grout stains in San Diego homes are usually caused by grout’s porosity combined with soap scum, hard-water minerals, grease, and moisture-driven mildew—especially in coastal humidity. The safest, most effective approach is to start with low-fume methods (baking soda paste, then 3% hydrogen peroxide if needed), avoid tile-damaging mistakes, and prevent recurrence through thorough rinsing, drying, and resealing.
Key Takeaways
-
Grout stains are often “in” the grout, not on it: Because cement-based grout absorbs residues (soap, minerals, oils, moisture), stains can become embedded and require dwell time plus controlled scrubbing.
-
Use a least-aggressive-first cleaning sequence: Dry clean first, then baking soda paste dwell + scrub, and add 3% hydrogen peroxide only as a targeted boost for darker staining.
-
Match the cleaner to the stain type: Mineral haze responds to mild acid on compatible surfaces, grease needs degreasing soap and agitation, and mildew requires peroxide-based cleaning plus full drying.
-
Avoid common damage risks (especially on stone): Skip vinegar on marble/travertine/limestone, don’t mix vinegar and peroxide, avoid metal brushes, and don’t leave liquids to dwell overnight.
-
Prevention is part of cleaning in coastal San Diego: Ventilation, towel-drying/squeegeeing, leak fixes, and timely resealing reduce rapid re-staining and mildew return after deep cleaning.
To remove deep grout stains safely San Diego homeowners can start with natural, low-fume cleaners like baking soda, hydrogen peroxide, and white vinegar—used the right way and in the right order. For example, make a thick paste of baking soda and water, press it into the grout lines on your shower floor, let it sit for 10–15 minutes, then scrub with a stiff nylon brush and rinse with warm water. If the stain is still dark, dab 3% hydrogen peroxide onto the paste, wait another 5 minutes, scrub again, and rinse well.
For kitchen grout near the stove, try spraying warm vinegar and water (1:1) on the grout, letting it sit for a few minutes, then scrubbing and wiping clean—just avoid using vinegar on natural stone like marble or travertine. In high-humidity bathrooms common near the coast, finish by drying the grout with a towel or running the fan to help prevent mildew from returning. If you notice a musty smell or black staining, repeat the baking soda + peroxide method and focus on short, firm scrubbing passes along the grout lines.
What causes deep grout stains in San Diego homes?
Deep grout stains aren’t just “surface dirt.” Grout is porous, so it absorbs whatever sits on it—soap film, body oils, hard-water minerals, cooking grease, and mildew. In coastal neighborhoods, the combination of humidity and slower drying time can also keep grout damp longer, which makes discoloration more likely.
Common causes homeowners run into when trying to remove deep grout stains safely San Diego:
- Soap scum + minerals: A sticky layer that traps grime, especially on shower floors and tub surrounds.
- Hard water deposits: San Diego County water is considered hard in many areas, meaning calcium and magnesium can leave pale crusty residue that darkens grout over time.
- Mildew and mold: Black or dark spotting that returns quickly if the area stays damp.
- Kitchen oils: Aerosolized grease near stoves and ovens binds to grout and attracts more dirt.
- Old sealer breakdown: Once grout sealer wears off, stains penetrate faster and become “deep.”
As a quick reference: grout is typically cement-based (unless it’s epoxy grout), which is why absorption—and staining—happens so easily.
How to remove deep grout stains safely San Diego: a step-by-step method
If your goal is to remove deep grout stains safely San Diego without harsh fumes, use a “least aggressive first” process. This reduces the risk of tile etching, grout weakening, or respiratory irritation.
Step 1: Dry clean first (yes, before liquids)
- Vacuum or sweep grout lines to remove grit that can scratch tile while scrubbing.
- If the grout is in a shower, run hot water for 1–2 minutes, then turn it off (this softens soap film). Ventilate the room.
Step 2: Baking soda paste dwell + scrub
- Mix baking soda with just enough water to form a thick paste (like frosting).
- Press it into the grout lines (gloved fingers or a spoon works well).
- Let sit 10–15 minutes.
- Scrub with a stiff nylon brush using short, firm strokes along the grout line.
- Rinse with warm water and wipe dry.
Step 3: Hydrogen peroxide “boost” for dark staining
If the grout is still dark:
- Dab 3% hydrogen peroxide onto the baking-soda paste (don’t flood it).
- Wait 5 minutes.
- Scrub again and rinse thoroughly.
This approach is a practical, low-fume way to remove deep grout stains safely San Diego bathrooms and showers without immediately jumping to bleach.
Step 4: Target the type of stain (soap film vs. mildew vs. grease)
Once you’ve done the base clean, match the stain to the chemistry:
- Soap scum/mineral haze: Use a gentle acidic cleaner only on compatible surfaces (ceramic/porcelain generally tolerate mild acids; many stones do not).
- Grease: Use a degreasing dish soap solution (alkaline) and agitation.
- Mildew: Peroxide-based dwell, drying, and ventilation matter as much as scrubbing.
What to avoid if you want to remove deep grout stains safely (and not damage tile)
Many DIY grout-cleaning “hacks” backfire. If you’re trying to remove deep grout stains safely San Diego homes, these are the common mistakes that cause permanent damage or make stains return faster:
- Don’t use vinegar on natural stone (marble, travertine, limestone). Acid can etch the surface and dull the finish.
- Don’t mix vinegar and hydrogen peroxide in the same container. Mixing acids and peroxide can create irritating compounds. Use them separately and rinse between steps.
- Avoid metal brushes on most tile and grout. They can scratch tile glazes and pull grout out of joints.
- Skip “overnight” dwell times with liquids on grout. Prolonged moisture can weaken cement grout or push stains deeper.
- Be cautious with bleach for routine cleaning. It can discolor some grout, degrade sealers, and irritate lungs—especially in small bathrooms.
How do you know if the stain is mildew, mineral buildup, or just embedded dirt?
Correct identification is what makes it possible to remove deep grout stains safely San Diego without overusing chemicals.
| What you see/smell | Most likely cause | Safest starting approach |
|---|---|---|
| Black or dark spotting; may smell musty | Mildew/mold staining | Baking soda paste + 3% peroxide, short scrubbing passes, dry fully |
| White crusty edges; dull haze on tile | Mineral deposits (scale) | Warm water + mild soap first; spot-test diluted vinegar only on non-stone tile |
| Brown/gray grime in traffic paths | Embedded soil + worn sealer | Baking soda paste scrub; repeat cycle; consider resealing |
| Yellowish tint near stove or backsplash | Grease buildup | Degreasing dish soap + warm water, brush agitation, rinse well |
Why coastal humidity makes grout staining harder to control
In many coastal parts of San Diego, bathrooms and enclosed showers can stay humid longer after use. When grout doesn’t dry fully:
- Mildew staining returns faster.
- Soap film stays soft and sticky, trapping dirt.
- Sealers can wear prematurely due to constant moisture exposure.
To remove deep grout stains safely San Diego and keep them from coming back, drying is part of the cleaning process:
- Run the bath fan for at least 20 minutes after showering (or crack a window if practical).
- Squeegee shower walls and towel-dry grout lines on the floor perimeter.
- Fix slow leaks and dripping showerheads—small leaks create constant damp grout.
How to handle deep grout stains on different tile types
Technique matters because tile materials react differently. If you’re trying to remove deep grout stains safely San Diego, follow the surface rules below.
Ceramic and porcelain tile
- Most forgiving for DIY cleaning.
- Baking soda + peroxide is usually safe.
- Diluted vinegar can be used for mineral haze, but rinse thoroughly and don’t let it sit too long.
Natural stone (travertine, marble, limestone)
- Avoid vinegar and acidic cleaners—etching can be permanent.
- Use a pH-neutral cleaner and gentle agitation first.
- If stains persist, it often requires stone-safe professional methods rather than stronger DIY chemicals.
Textured tile and slip-resistant shower floors
- They trap residue more easily, so you may need repeated short scrubbing cycles rather than one aggressive scrub.
- Use a brush with firm nylon bristles and focus on grout edges where grime collects.
How long should it take to remove deep grout stains safely?
For most homes, a realistic time frame to remove deep grout stains safely San Diego is:
- Small shower floor: 30–60 minutes including dwell time, scrubbing, and rinsing.
- Kitchen grout strip near stove: 15–30 minutes.
- Large bathroom or multiple rooms: 2–4 hours, often split into sections for better results.
If you’re repeating the process more than 2–3 times and the grout still looks dark, the discoloration may be below the surface (or the grout may be permanently stained), which is a different problem than “dirt.”
Cost: DIY vs. professional help in San Diego
If you want to remove deep grout stains safely San Diego with DIY methods, your costs are usually low:
- Baking soda: low cost
- 3% hydrogen peroxide: low cost
- Nylon grout brush: low cost
- Microfiber cloths and gloves: low cost
Professional cleaning varies widely based on square footage, grout condition, tile type, and whether sealing is included. Rather than guessing at a number, use this decision rule:
- DIY makes sense if staining improves noticeably after one full cycle and doesn’t return quickly.
- Professional help makes sense if stains reappear within days, grout looks patchy, or you have natural stone you don’t want to risk etching.
If you’re considering a deeper reset for heavily soiled floors, Tile & Grout Cleaning is typically the service category that targets embedded soil beyond what hand scrubbing can lift.
How to keep grout from re-staining after you clean it
The fastest way to “fail” after you remove deep grout stains safely San Diego is skipping the aftercare. Once grout is clean, keep it that way with a simple routine:
Weekly (5–10 minutes)
- Wipe shower walls and curb edges to remove soap film before it hardens.
- Spot-clean grout lines with a mild dish-soap solution and a nylon brush.
- Dry the area (towel or fan) to reduce mildew regrowth.
Monthly (15–30 minutes)
- Do one baking-soda paste scrub on the most exposed grout: shower entry, corners, and along the drain.
- Inspect for cracked grout or gaps where water can seep in.
When to reseal
Grout sealing frequency depends on wear, cleaning habits, and moisture exposure. A quick homeowner test:
- Sprinkle a few drops of water on clean grout.
- If it darkens quickly and absorbs within a minute, sealer protection may be low.
Sealing is one of the most effective ways to remove deep grout stains safely San Diego once—and avoid doing it again every month.
Real-world evidence: why ventilation and moisture control matter
Humidity control isn’t just comfort—it’s part of stain prevention. The U.S. Environmental Protection Agency (EPA) notes that controlling moisture is the key to preventing mold growth, since mold needs water to grow. In practical terms for bathrooms: if grout stays wet, dark staining and musty odors are more likely to return even after a successful cleaning cycle.
Example scenario seen often in coastal homes: a shower that “looks clean” right after scrubbing, but develops dark grout again within 1–2 weeks. In many cases, the difference-maker isn’t a stronger chemical—it’s consistently drying the shower area and keeping the fan running long enough to remove humidity.
Where to learn more about grout cleaning techniques (without harsher chemicals)
If you’re working through multiple rooms and want more methods that fit San Diego conditions, this guide on San Diego grout cleaning expands on practical approaches for different tile and grout situations.
Proof You’re Doing It Right: The Pro-Level Wrap-Up
If your goal is to remove deep grout stains safely San Diego, the winning formula is consistency and restraint: start gentle, identify the stain type, use short controlled scrubbing, rinse thoroughly, and dry the area fully—especially in humid coastal bathrooms.
In day-to-day field practice, the safest high-success pattern is:
- Baking soda paste first
- 3% hydrogen peroxide only if needed
- Vinegar only on non-stone tile, used briefly and rinsed well
- Ventilation and drying to stop mildew from returning
Professionals in the tile and stone industry typically follow IICRC-aligned principles for inspection, fiber/surface identification, selecting the least-aggressive effective chemistry, and thorough extraction/rinsing—because residue and moisture left behind are what drive rapid re-soiling. Use that same mindset at home, and you’ll remove deep grout stains safely San Diego with fewer repeats and far less risk of damaging tile or stone.