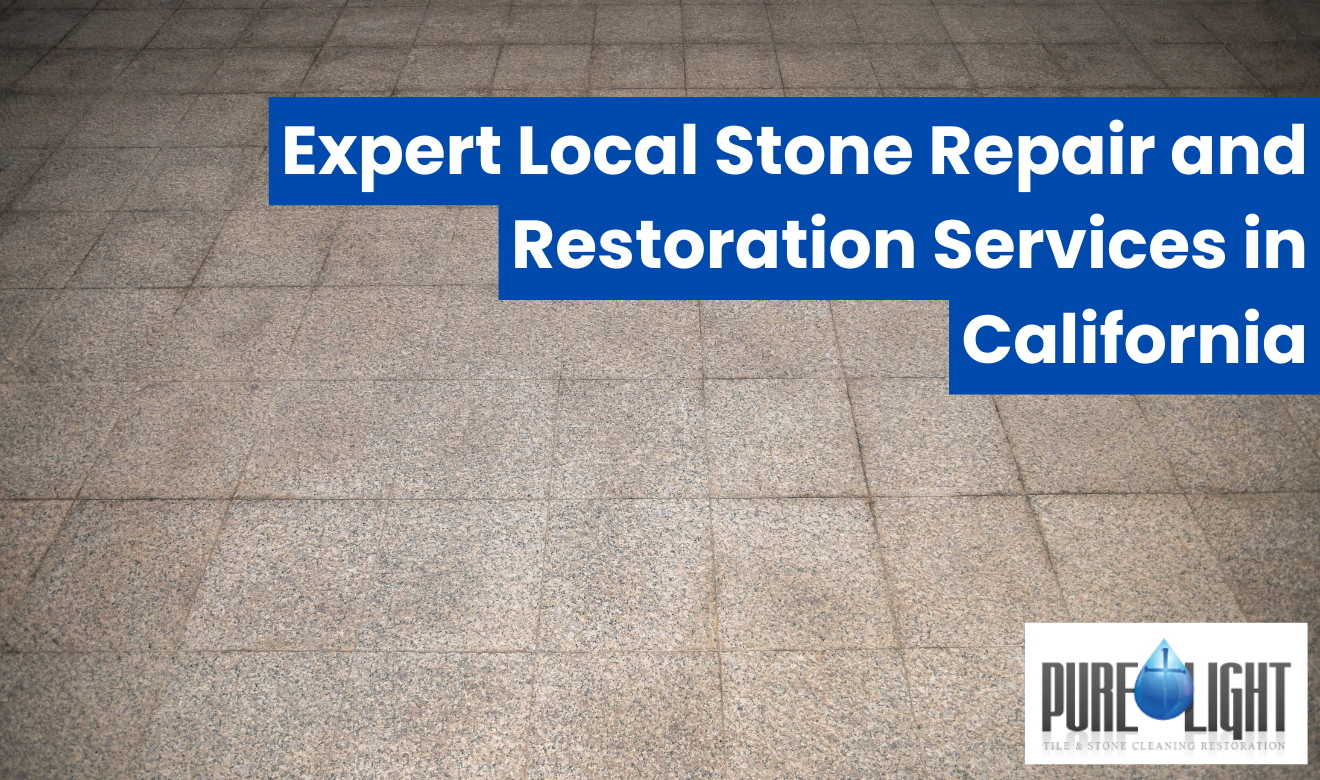
Executive Summary
Local stone repair and restoration services in California resolve both structural defects (chips, cracks, lippage, loose tile, joint failures) and finish problems (etching, scratches, stains, dulling) by diagnosing the stone and residue first, then cleaning/extracting, mechanically honing/polishing, repairing edges/joints, and sealing only after full dry-down. When those steps are verified with a test patch and matched to local exposures (coastal salt/sand, wildfire smoke, desert heat, hard water, and heavy foot traffic), surfaces return to a stable, uniform finish that can be maintained without repeat damage.
Core Insights
- Diagnosis Before Action: Correct stone ID, residue testing, moisture screening, and a controlled test patch prevent irreversible damage from wrong pH cleaners, incorrect diamond sequences, or incompatible sealers.
- Mechanical Refinement Is the Reliable Fix: Etches, scratches, and traffic dulling are predictably corrected with progressive diamond honing and finish-specific polishing (with edge blending), rather than temporary topical “shine” products that can peel, haze, or fail.
- California Conditions Change Sequencing: Coastal salts/sand, wildfire soot, desert thermal cycling, and hard-water minerals require tailored chemistry, thorough rinse/extraction, longer dry-down where needed, and joint stabilization so sealing and finish matching last.
Expert local stone repair and restoration services in California restore damaged natural and engineered stone to a stable, clean, and uniform finish. In coastal cities like Santa Monica, Monterey, and San Diego, salt air and wind-driven sand can etch marble and dull polished limestone, so technicians often use progressive diamond honing steps, then repolish to a measured gloss. In wildfire-prone regions near Santa Rosa and the Sierra foothills, smoke residue can penetrate porous travertine and grout, so crews apply alkaline or solvent-specific poultices, rinse with controlled pH water, and reset the surface sealer after full dry-down. In Los Angeles, Anaheim, and the Bay Area, high-traffic condo lobbies and retail thresholds commonly show granite lippage and cracked edges, so restorers level joints, rebuild corners with color-matched stone epoxy, and blend the repair with a final honing pass. For pool decks and patios in Palm Springs and the Inland Empire, heat cycling can open micro-fissures in slate and flagstone, so specialists stabilize loose pieces, regrout with flexible materials where needed, and add a slip-resistant finish that still meets visual uniformity.
What “Stone Repair and Restoration” Covers in California Properties
Stone repair restores structural integrity (chips, cracks, loose tiles, lippage) while restoration returns the surface to a consistent texture and sheen (honing, polishing, sealing). In California, technicians also adapt methods to coastal salts, wildfire residue, hard-water scale, and heavy foot traffic common in mixed-use buildings.
Most projects fall into four scopes that can be combined on the same job:
- Surface correction: etch removal, scratch removal, stain extraction, honing, polishing, and slip-resistance tuning.
- Bond and assembly repair: resetting hollow/loose stone, regrouting, re-caulking, and movement-joint correction.
- Edge and corner rebuilding: chip repair, crack pinning where appropriate, and epoxy reconstruction with color matching.
- Protection: impregnating sealer application after full dry-down; topical coatings only where appropriate for the material and location.
Common Failure Patterns Technicians See Across Coastal, Urban, and Inland Zones
Most visible stone damage in California traces back to chemistry (acid/alkaline exposure), abrasion, moisture movement, and thermal cycling. Correct diagnosis determines whether the fix is cleaning, mechanical resurfacing, or a true structural repair.
Technicians typically map the problem to one of these categories before selecting abrasives or chemicals:
- Acid etching on кальcitic stones: marble, limestone, and travertine lose reflectivity when exposed to acidic cleaners, citrus, vinegar, or some bathroom products.
- Abrasive wear and dulling: sand and grit at entries act like sandpaper; coastal wind-driven particles accelerate this.
- Efflorescence and salt contamination: soluble salts migrate with moisture and crystallize, leaving a haze or granular residue.
- Hollow sounds / debonding: inadequate thinset coverage, moisture intrusion, or substrate movement causes tiles to release.
- Lippage and trip edges: differential tile heights at joints, often made worse by settlement or poor installation tolerances.
- Heat-related micro-fissures: outdoor slate/flagstone in desert climates expands/contracts daily, opening small cracks and loosening grout.
- Smoke and soot loading: fine particulates can lodge in pores and grout lines, requiring chemistry tailored to residue type.
On-Site Assessment: The Steps That Determine the Right Restoration Method
A proper assessment combines stone identification, contamination testing, and a controlled test patch. This prevents permanent surface damage from incorrect pH cleaners, wrong diamond grit sequences, or incompatible sealers.
A technician’s field checklist commonly includes:
- Stone identification: natural vs engineered stone; calcite-based vs silicate-based (determines etch risk and polishing approach).
- Finish verification: polished, honed, brushed, tumbled, flamed, or leathered—finish controls the target sheen and abrasive strategy.
- Moisture screening: look for darkening, wicking at grout joints, or chronic damp areas that can block sealer performance.
- Residue classification: soap scum, hard-water scale, oils, organic staining, rust, smoke residue, or construction haze.
- Grout and joint condition: cracks, powdering, missing joints, or failed caulk at plane changes; note that grout is not a waterproofing layer and often reveals moisture pathways rather than causing them.
- Test patch: a small, inconspicuous area is cleaned/honed/polished to validate results before full-scale work begins.
Restoration Procedures That Deliver Predictable Results
Professional restoration follows a controlled sequence: remove contaminants first, correct the surface mechanically, then protect it after complete drying. Skipping steps (especially dry-down before sealing) is a primary reason sealers fail early or look blotchy.
1) Deep Cleaning and Residue Removal (Pre-Restoration)
Cleaning removes films and embedded soils that would otherwise smear during honing or get locked under sealers. The chemistry is selected by residue type and stone sensitivity, then neutralized and extracted.
- Alkaline cleaning (common for oils/soils): used with agitation and controlled dwell time, then rinsed to a near-neutral surface.
- Solvent-based treatment (common for some smoke residues or sealers): applied in a controlled manner with proper ventilation and residue capture.
- Poulticing for stains: absorbent media draws staining out of pores; repeated applications may be required for deep-set discoloration.
- Controlled rinse and extraction: reduces residue re-deposition and helps keep grout joints from retaining dirty water.
For ongoing care strategies between professional visits, this guide can help set realistic routines without over-scrubbing stone: Mastering floor cleaning techniques.
2) Diamond Honing and Polishing (Finish Restoration)
Honing removes etching, scratches, and uneven wear using progressive diamond abrasives. Polishing then refines the surface to a measurable gloss or returns it to a consistent honed appearance.
A typical professional progression (varies by stone hardness and desired finish) includes:
- Cut/level stage: lower grits remove lippage and deeper damage; dust-controlled methods and slurry management protect adjacent finishes.
- Honing stage: mid grits close the scratch pattern and establish the final hone level (e.g., satin/matte).
- Polishing stage: high grits and stone-appropriate polishing compounds restore reflectivity on polished finishes.
- Edge blending: hand tooling for corners, toe-kicks, stair noses, and tight perimeters so repairs disappear into the field.
When the objective is to correct height differences at tile edges, leveling is typically integrated into the abrasive workflow. If the floor has trip-risk joints, Tile Lippage Removal is the specialized service that targets joint leveling while preserving the surrounding finish.
3) Chip, Crack, and Corner Rebuilds (Structural Surface Repairs)
Hard damage is rebuilt using color-matched epoxy or resin systems, then shaped and honed flush to the surrounding stone. The goal is not only cosmetic; it’s to prevent water ingress, progressive spalling, and sharp edges that chip further.
- Preparation: cleaning/degreasing the break, removing loose fragments, and undercutting where needed for a mechanical key.
- Fill and match: tinting epoxy to match base tone and veining; using aggregates where appropriate for natural texture.
- Shaping: reconstructing the profile (bullnose, eased edge, bevel) to match existing fabrication.
- Finish blending: honing/polishing the repair so gloss and clarity match the surrounding area.
4) Regrouting, Caulking, and Movement Joint Corrections
Joint work stabilizes the system and prevents repeat failures—especially at showers, exterior thresholds, and large expanses subject to movement. Correct joint materials and placement reduce cracking and reduce moisture intrusion pathways.
- Remove failing grout: selective removal avoids chipping tile edges; joints are cleaned to sound material.
- Regrout appropriately: material choice depends on joint width, exposure, and movement; cure times must be observed before sealing or flooding.
- Replace failed caulk at plane changes: corners and transitions need flexible sealant rather than rigid grout to accommodate movement.
- Address water entry points: chronic wet areas (showers, entries) require moisture-source correction, not just cosmetic regrouting.
California-Specific Conditions That Change the Plan
Regional exposure drives material choice and process timing, especially for drying, sealing, and exterior safety. Coastal salt, wildfire residue, and desert heat each require different sequencing and verification steps.
Coastal Cities: Salt Air, Sand, and Wind Abrasion
Coastal wear shows up as dull lanes, micro-scratching, and etched limestone/marble. The most consistent fix is mechanical refinement with progressive diamonds, followed by polishing to the appropriate gloss and a sealer suited to marine exposure.
- Prioritize entry matting and regular grit removal to reduce abrasive wear.
- Use honing to remove the damaged layer rather than relying on topical “shine” coatings that can peel or haze.
- Rinse thoroughly after cleaning to reduce salt residue left in pores and joints.
Wildfire/Smoke Zones: Soot, Ash, and Odor Carriers in Pores
Smoke residue is often a mix of carbon, oils, and fine particulates that lodge in travertine and grout. Effective remediation uses residue-specific chemistry, extraction, and complete dry-down before resealing to avoid trapping odors or discoloration.
- Dry vacuum HEPA removal of loose ash before introducing water.
- Alkaline or solvent-specific cleaners depending on residue behavior in test patches.
- Multiple rinse cycles with controlled pH water, then drying time before sealing.
Desert and Inland Exteriors: Thermal Cycling and Slip Risk
Exterior stone must be stable, well-bonded, and safe under wet conditions; heat cycling can loosen pieces and open cracks. Repairs typically combine reset work, flexible joint materials in the right locations, and a traction-minded finish.
- Reset loose slate/flagstone rather than “gluing down” the perimeter only.
- Regrout where washout occurred; verify drainage and avoid trapping moisture.
- Confirm the final finish meets the property’s slip-resistance needs for pool decks and entries.
Key Specifications and Local Operating Guidelines (At-a-Glance)
This table summarizes the practical metrics restorers use to decide process, sequencing, and protection. It focuses on measurable job controls—dryness, pH neutrality, finish matching, and joint stability.
| Feature / Metric | Specifications | Local Guidelines |
|---|---|---|
| Stone type (calcite vs silicate) | Calcite stones (marble/limestone/travertine) etch from acids; silicate stones (granite/quartzite) are more acid-resistant but still stain and scratch | Verify with a test patch before any acidic product; coastal and hospitality properties should assume higher abrasion load at entries |
| Cleaner selection and rinse neutrality | Use residue-appropriate alkaline/solvent cleaners; rinse and extract until no film remains | In hard-water regions (Inland Empire, desert cities), prevent mineral re-deposit by controlled rinsing and drying practices |
| Abrasive progression (honing/polishing) | Progressive diamond steps to remove damage and refine scratch pattern; finish matched to surrounding sheen | High-traffic lobbies in LA/OC/Bay Area often need periodic honing cycles instead of repeated “buff-only” attempts |
| Dry-down before sealing | Stone and grout must be dry to accept impregnator evenly and avoid hazing | Coastal humidity and shower areas require longer dry times; confirm dryness before resealing after extraction or poulticing |
| Joint integrity (grout/caulk/movement) | Cracked joints, missing grout, and rigid grout at plane changes are common failure points | Exterior patios and sun-exposed areas need movement accommodation; don’t treat recurring cracks as “cosmetic only” |
Where Restoration Ends and Replacement Begins
Not every floor can be “polished out” safely; some installations have structural or substrate problems that require rebuild. A qualified technician will document limitations discovered during testing and recommend replacement only when restoration cannot meet safety or performance requirements.
Replacement or rebuild is typically indicated when:
- Widespread debonding: multiple hollow tiles or tenting suggests substrate or installation failure.
- Severe spalling or delamination: the stone is breaking down below the surface layer.
- Chronic moisture migration: recurring efflorescence, darkening, or mold conditions tied to leaks or missing waterproofing.
- Excessive warpage or thickness variation: leveling would remove too much material or create unsafe thin spots.
- Code/safety drivers: persistent slip incidents or trip hazards that can’t be resolved by leveling/finish adjustment.
How to Choose a Qualified Stone Technician (Verification Checklist)
Credentialing matters because stone is irreversible—wrong chemicals or abrasives permanently change reflectivity and texture. The best screening approach is documentation: test patches, written scope, and clear post-care instructions.
Use this practical checklist when hiring:
- Written method statement: identifies stone type, target finish (polished vs honed), and the planned honing/polish sequence.
- Test patch approval: you sign off on an area before full production begins.
- Protection plan: masking adjacent finishes, managing slurry, and controlling dust.
- Repair materials disclosure: epoxy/resin type, color-matching approach, and expected cure times.
- Sealer plan: impregnator vs topical, dry-down requirements, and reservice interval guidance based on traffic and exposure.
- Maintenance handoff: pH-appropriate cleaner recommendations and do-not-use list (acids on marble/limestone/travertine).
Maintenance After Restoration: Protecting the Finish Without Dulling It
Post-restoration maintenance is about grit control, correct chemistry, and periodic deep cleaning—especially at entries and wet areas. Most premature dulling happens from abrasive soil left on the floor or repeated use of acidic/harsh cleaners.
High-performance care steps that preserve the restored surface:
- Dry soil control first: vacuum or dust mop daily in traffic lanes; grit is the #1 driver of micro-scratching.
- Use stone-safe cleaners: neutral or stone-approved products; avoid vinegar/citric acids on calcite stones.
- Rinse and dry in wet zones: reduce hard-water deposits on shower walls, vanities, and polished surfaces.
- Entry mat strategy: exterior scraper mat + interior wiper mat reduces sand load dramatically.
- Plan periodic professional maintenance: light honing/buffing cycles extend the time between full restorations.
Bringing Damaged Stone Back to a Uniform, Stable Finish
Effective stone restoration in California is a controlled system: diagnose the stone and residue, clean and extract fully, mechanically correct the surface, repair edges and joints, then seal only after complete dry-down. When those steps are followed—especially with test patches and finish matching—stone surfaces in coastal, wildfire-impacted, and high-traffic urban properties can be returned to a consistent appearance with safer transitions and longer-lasting protection.
Frequently Asked Questions
Stop Guessing With Your Stone—Fix It the Right Way, the First Time
Stone repair and restoration isn’t a “try a cleaner and see what happens” project—because the wrong move can permanently change the surface. One acidic product on marble or travertine can turn a small etch into a wide, dull patch you can’t unsee. One rushed sealer application on stone that isn’t fully dry can lock in moisture, haze the finish, and create blotchy dark spots that look worse than the original damage. And if you ignore lippage, hollow tiles, or cracked joints, you’re not just risking appearance—you’re risking trip hazards, water intrusion, progressive debonding, and repairs that keep getting more expensive every time you “touch it up.”
Local conditions across California make this even trickier: coastal salt and sand accelerate abrasion, hard water leaves mineral deposits that don’t respond to generic cleaners, and smoke residue can penetrate porous stone and grout—meaning you need the right chemistry, the right honing sequence, and a verified test patch before committing to a full restoration. That’s how you avoid wasted money, permanent surface damage, and repeat failures.
If you want a stable, uniform finish you can actually maintain—without gambling on DIY chemicals, rental machines, or “miracle shine” coatings—bring in a technician who can diagnose the stone, correct it mechanically, rebuild chips and edges, stabilize joints, and seal only when the surface is truly ready.