
Executive Summary
The white powder on exterior stone is most often efflorescence—salts/minerals carried to the surface by moisture and left behind as water evaporates. The durable resolution is to control moisture entry and drying conditions (irrigation, drainage, joints, and timing), then clean using stone-safe methods that don’t increase porosity or cause etching.
- Correct Identification Comes First: Distinguish powdery, brushable efflorescence from crusty hard-water scale or drip-like lime run so you don’t choose a cleaner (especially acids) that can permanently damage sensitive stone.
- Gentle Removal Prevents Recurrence: Start with dry brushing, then minimal low-pressure rinsing and stone-appropriate cleaners only if needed, because heavy soaking and aggressive pressure washing can drive salts deeper and make whitening return faster.
- Prevention Is Moisture Management: Stop repeat wetting and mineral loading by fixing sprinkler overspray, improving drainage/slope, repairing cracks and transitions, and sealing only after the assembly is fully dry with a breathable penetrating sealer when appropriate.
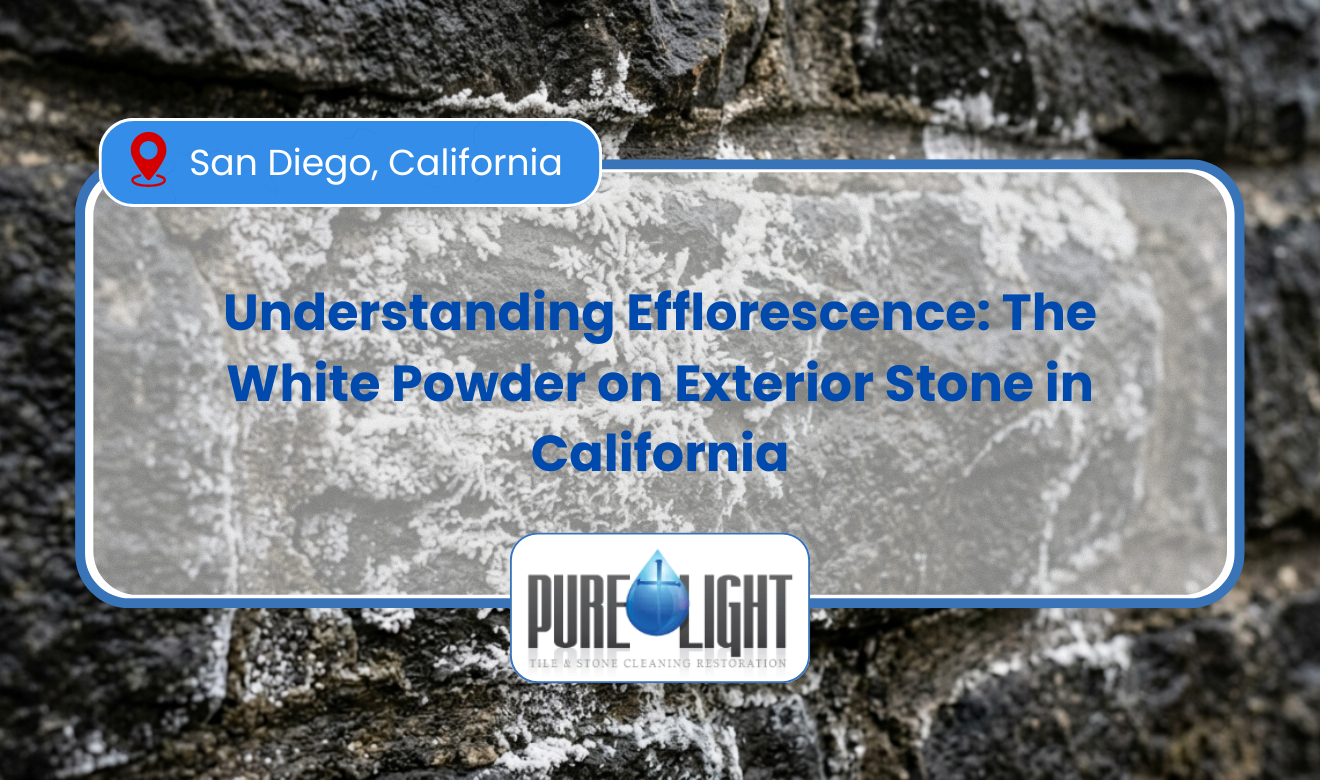
What Is The White Powder On Exterior Stone? It is usually efflorescence, a salt residue that forms when moisture moves through masonry and evaporates at the surface. In many California coastal and inland-valley conditions, rain, marine-layer humidity, irrigation overspray, and hard water can soak into porous stone, mortar joints, or grout lines. Dissolved minerals then migrate outward and dry into a chalky white film. You often see it on stacked stone veneers, limestone, sandstone, and concrete pavers on patios, entry steps, retaining walls, and pool coping. In areas like the Bay Area and Southern California, morning fog and cool-night condensation can keep stone damp for hours, then afternoon sun drives rapid evaporation and leaves visible powder along edges, joints, and drip lines. Near sprinklers, white buildup can concentrate where spray hits daily, especially around planters and along stucco-to-stone transitions. This residue is common after new installation, repointing, or pressure washing, because fresh mortar and setting materials contain soluble salts and extra mix water that can push minerals to the face of the stone.
Efflorescence vs. Other White Residues (How to Tell What You’re Seeing)
Direct answer: Most white powder on exterior masonry is efflorescence, but similar-looking deposits can also be lime run, hard-water scale, or cement haze. Correct identification matters because the wrong cleaner (especially acids) can permanently etch certain stones.
Use these field checks before you treat the surface:
- Efflorescence: Dry, chalky, often reappears after fog/rain; commonly forms along mortar joints, edges, and “drip lines.”
- Hard-water mineral scale: More crusty and localized where sprinkler spray hits; can form rings, streaks, or thick buildup.
- Lime run (calcium carbonate leaching): White streaks that look like dried milk drips below cracks, weep screeds, or joints; often tied to repeated wetting behind the wall.
- Cement haze/grout film: Thin, uniform cloudy residue after new installation or repointing; usually appears soon after the work.
A simple observation test helps: efflorescence often brushes off as powder (especially when fully dry). Scale and lime run tend to be harder and more bonded. If you’re unsure, treat it like a sensitive stone issue until confirmed.
Why This Happens on Exterior Stone in California (Coastal + Inland)
Direct answer: White powder forms when water enters porous stone or joints, dissolves salts/minerals, then evaporates and leaves solids behind at the surface. California’s fog cycles, irrigation habits, and hard-water conditions create ideal wet/dry repetition.
Common local drivers that increase mineral migration:
- Marine layer + night condensation: Keeps stone damp for long periods, then sun causes fast evaporation.
- Wind-driven rain: Pushes water into capillaries and behind veneers.
- Irrigation overspray: Daily wetting creates concentrated deposits at impact zones.
- Hard water: Higher dissolved minerals accelerate visible residue, especially at planters and pool areas.
- New mortar/grout: Fresh cementitious materials contain soluble salts that can move outward during cure.
Importantly, the residue is not just a “surface dirt” issue. It is a moisture-transport symptom, meaning prevention requires controlling water entry and drying dynamics—not only cleaning.
What It Can Do to Your Stone (Aesthetics vs. Damage)
Direct answer: Efflorescence itself is usually cosmetic, but the moisture movement behind it can contribute to long-term deterioration. Repeated salt cycling can weaken joints, and trapped moisture can promote spalling or staining.
Typical impacts by material and condition:
- Stacked stone veneers: White lines at ledges and mortar beds; if moisture is behind the veneer, you may also see dark damp patches.
- Sandstone/limestone: Greater risk from aggressive chemicals; acids can etch and permanently dull the face.
- Concrete pavers/coping: More tolerant, but frequent scaling can create uneven color and roughness.
- Mortar joints and grout lines: Persistent wetting can shorten service life; joints may powder, crack, or wash out over time.
If you see flaking, crumbling edges, hollow-sounding stone, or persistent wet areas, treat it as a moisture-management problem first, not just a cleaning problem.
Safety and Surface-Protection Rules Before You Clean
Direct answer: Treat unknown exterior stone as acid-sensitive until you confirm the stone type and finish. Use the gentlest effective method first, and protect adjacent landscaping, metals, and coatings.
Follow these non-negotiable prep steps:
- Identify the material: limestone, marble, and many sandstones are acid-reactive; slate and granite are generally more acid-resistant but can still discolor depending on finish and iron content.
- Dry brush first: If it’s true efflorescence, dry removal reduces the amount you drive deeper with water.
- Test in a hidden area: Look for etching (dulling), color shift, or joint damage.
- Protect metals: Runoff can stain aluminum, steel, and some painted surfaces.
- Control runoff: Avoid letting wash water enter storm drains; many California jurisdictions prohibit discharging wash water containing sediment/chemicals to storm drainage systems without proper containment.
As a rule: the more porous and light-colored the stone, the more careful you must be with chemistry and dwell times.
Step-by-Step: How to Remove the White Powder Without Making It Worse
Direct answer: Start with dry mechanical removal, then use low-pressure rinsing and stone-safe cleaners only if needed. Strong acids and high pressure often make deposits return faster by increasing porosity or driving salts deeper.
1) Dry Removal (Best First Move for Powdery Deposits)
Direct answer: If the residue is loose and chalky, remove it dry to avoid dissolving salts and pulling them deeper into pores.
- Use a soft nylon brush or masonry whisk broom.
- Collect dust where feasible (especially near doors and vents).
- Avoid steel brushes on softer stone (can scratch and leave metal marks).
2) Controlled Rinse (Low Pressure, Minimal Saturation)
Direct answer: Rinse only after dry brushing, using the least water needed; excessive soaking increases the chance of repeat blooming.
- Rinse with a gentle fan tip; avoid forcing water into joints.
- Work bottom-up for washing (to prevent streaking), then final rinse top-down.
- Do not “flood” planter edges or weep screed zones.
3) Cleaner Selection (Match the Chemistry to the Stone)
Direct answer: Use non-acidic, stone-safe products for acid-sensitive stone; reserve mild acid cleaners for acid-resistant materials only and only when scale is confirmed.
- Acid-sensitive stone (limestone, marble, many sandstones): use a neutral or alkaline efflorescence remover labeled safe for natural stone.
- Concrete, clay pavers, some granites/slates: a mild acid may be appropriate for mineral scale, but only after testing and confirming it’s not an etch-prone surface.
- Avoid: straight vinegar or muriatic acid on unknown stone; they can etch, bleach, or roughen the surface permanently.
Joint material also matters. Many exterior installations use cement-based grout or mortar; aggressive acids can weaken cement paste and open the pore network, increasing future salt movement.
4) Drying Protocol (The Part Most People Skip)
Direct answer: The surface must dry quickly and evenly after cleaning; slow drying can pull more salts to the face.
- Clean during a window of dry weather when possible.
- Increase airflow (open gates, reduce obstruction) so evaporation happens uniformly.
- Delay sealing until the assembly is dry; sealing damp stone can trap moisture and worsen whitening.
Key Metrics and Local Best Practices (Table)
Direct answer: The most reliable way to reduce recurrence is to limit water intrusion, reduce mineral loading, and avoid methods that increase porosity. The table below summarizes practical metrics that directly affect exterior stone in coastal and inland-valley climates.
| Feature / Metric | Specifications | Local Guidelines |
|---|---|---|
| Deposit type identification | Powdery/brushable suggests efflorescence; crusty/bonded suggests scale or lime run | Confirm before using acids; many CA installations use limestone/sandstone veneers that etch easily |
| Cleaning pressure | Use low pressure to avoid driving water into joints and behind veneers | Avoid aggressive pressure washing near windows/doors and veneer edges common in coastal wind exposure |
| Water source mineral load | Hard irrigation water accelerates white deposits at impact zones | Adjust sprinkler heads to prevent overspray; consider drip irrigation near stone walls and planters |
| Timing after new installation | Early-stage blooming is common as mortar cures and water exits | Delay sealing until the assembly is fully dry; coastal fog can extend dry-down time significantly |
| Drainage and detailing | Poor drainage keeps salts moving; look for trapped moisture at ledges and transitions | Maintain slopes away from walls; keep weep paths clear where applicable; avoid soil/mulch bridging at base |
How to Prevent It From Coming Back (Moisture Control Checklist)
Direct answer: Preventing recurrence requires reducing water entry, shortening wet time, and lowering mineral exposure from irrigation and runoff. If you only remove the residue, it often reappears with the next wet/dry cycle.
Use this checklist around the affected area:
- Fix irrigation patterns:
- Angle heads away from stone and adjust throw distance.
- Switch problem zones to drip lines where feasible.
- Improve drainage:
- Keep hardscape sloped so water does not pond against steps or retaining walls.
- Clean debris from joints and drains so water exits quickly.
- Address entry points:
- Seal gaps at caps, coping, and metal-to-stone transitions with appropriate exterior sealant.
- Repair cracked joints so water cannot migrate behind the face.
- Choose the right sealer strategy:
- Use a breathable penetrating sealer where appropriate; avoid “film-forming” coatings that can trap moisture unless specified by the material manufacturer.
- Do not seal over active moisture—trapped water can worsen whitening and discoloration.
If the stone is part of a larger tile-and-stone system (steps, patios, pool surrounds), consistent maintenance cleaning reduces the mineral load that feeds deposits. For broader surface restoration where residues are widespread, consider professional Exterior Stone Cleaning that uses stone-appropriate chemistry and controlled rinsing.
When the White Powder Signals a Bigger Problem (Call-Out Indicators)
Direct answer: Persistent or heavy deposits often indicate ongoing moisture intrusion behind the surface, not just surface wetting. In those cases, cleaning alone is temporary and the deposits will recur.
Escalate your inspection if you notice:
- Recurring bloom in the same vertical path (possible water channel behind veneer).
- Staining that stays dark even after days of dry weather (likely trapped moisture).
- Spalling, flaking, or granular loss on softer stones or mortar joints.
- White streaks under cracks/open joints that resemble drips (often leaching/lime run).
At that point, evaluate water sources methodically: irrigation, capillary rise from planters, failed sealant joints, missing/drained weep paths, or repeated ponding at the base.
Related Surface Care That Supports Cleaner, Longer-Lasting Masonry
Direct answer: The same habits that prevent efflorescence—gentle cleaning, correct chemistry, and moisture control—also reduce premature wear of tile, grout, and stone finishes.
If your exterior stone transitions into interior floors, entries, or tiled surfaces, keep maintenance consistent and non-abrasive. A useful reference for routine methods and tool choices is mastering floor cleaning techniques, especially for minimizing residue buildup at thresholds and high-traffic paths.
Clear Takeaways: What the White Powder Means and What to Do Next
Direct answer: The white powder is most often salt/mineral residue left by evaporating moisture, and the durable fix is controlling water movement—not just washing the surface. Correct identification and stone-safe cleaning prevent etching, joint damage, and fast recurrence.
- Confirm the deposit type (powdery efflorescence vs. crusty scale/lime run) before choosing chemistry.
- Start dry (brush/vacuum) and use low-pressure, minimal-water rinsing to avoid driving salts deeper.
- Avoid acids on acid-sensitive stones like limestone and many sandstones; always test a small area first.
- Stop the water source (sprinkler overspray, ponding, unsealed transitions, cracked joints) or the residue will return.
- Seal only when fully dry and favor breathable penetration over trapping films unless specifically required.
Frequently Asked Questions
Stop the White Powder at the Source—Before It Becomes a Bigger (and More Expensive) Problem
That chalky white buildup isn’t just an eyesore—it’s your stone telling you moisture is moving through it. And if you treat it like “surface dirt,” you can accidentally make it worse: etch soft stone with the wrong cleaner, weaken mortar joints with harsh acids, or drive water and salts deeper with aggressive pressure washing. That’s how a simple exterior cleanup turns into recurring bloom, blotchy discoloration, joint failure, and, in worst cases, spalling and costly repairs.
California’s coastal fog cycles, hard irrigation water, and constant wet/dry repetition make this problem stubborn. The DIY approach usually misses the real cause—where the moisture is coming from—and that’s why the white powder keeps coming back. A local stone and grout specialist can identify what you’re actually dealing with (efflorescence vs. scale vs. lime run), choose chemistry that won’t damage your specific material, control rinsing so salts don’t reappear faster, and help you lock down the moisture and irrigation triggers that caused it in the first place.
If you want it gone—and you want it to stay gone—get a pro assessment before you experiment on your stone.


