
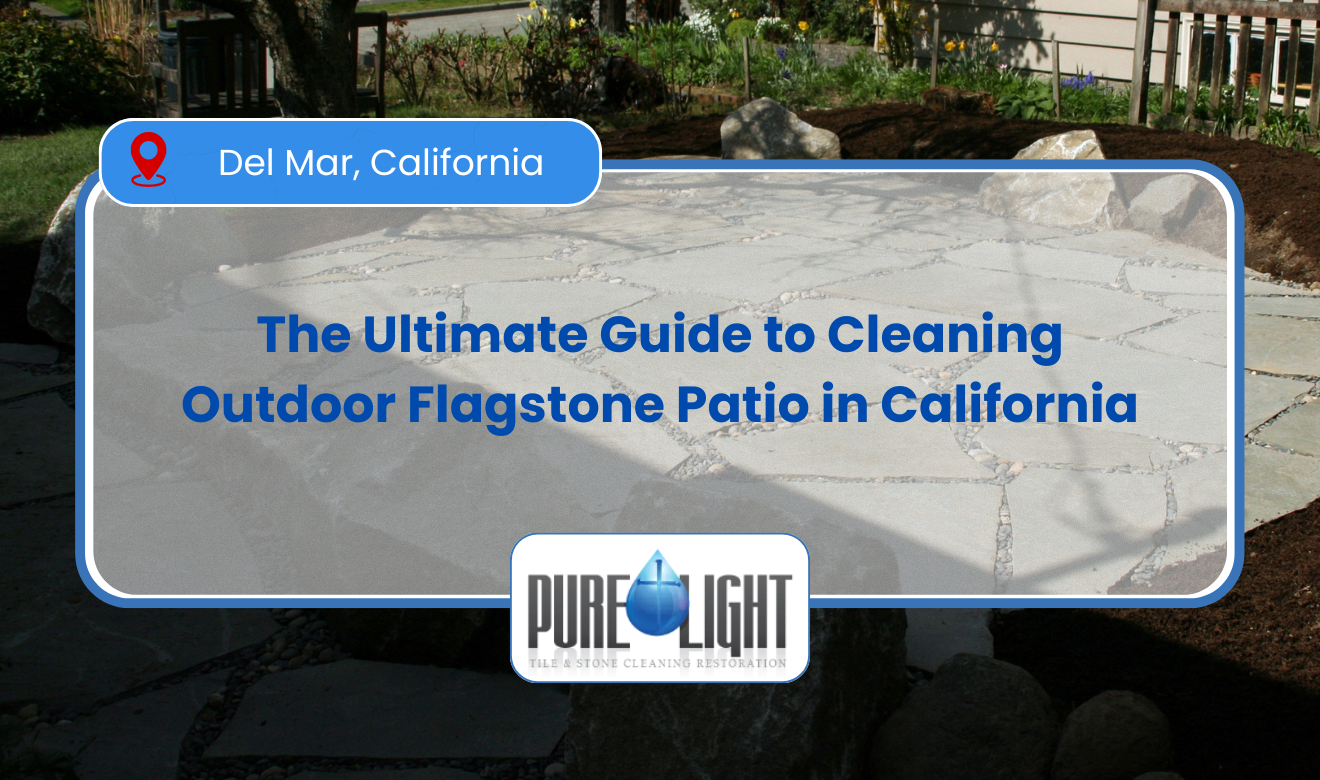
Executive Summary
To clean an outdoor flagstone patio without damage, first identify the stone and joint type, then remove debris dry, test a pH-neutral to mildly alkaline stone-safe cleaner, scrub with soft nylon bristles, and rinse with controlled water while keeping wastewater out of storm drains. Use targeted stain removers only for the specific problem (rust, tannins, oil, or confirmed efflorescence) and avoid acids on calcium-based stone and aggressive pressure that erodes joints.
Core Insights
- Match method to materials: Stone type (sandstone/slate/limestone) and joint type (polymeric sand/mortar/DG) determine what chemistry and water pressure are safe.
- Dry removal and testing prevent damage: Sweeping/blowing first and running a small pre-wet test spot reduces slurry, avoids etching or haze, and minimizes joint loss and runoff.
- Treat stains selectively and control runoff: Use stain-specific products (rust remover, organic cleaner/poultice, degreaser/poultice, or approved efflorescence treatment) and block/capture rinse water to comply with California stormwater rules.
How to clean outdoor flagstone patio means removing soil, organic growth, and stains from natural stone using pH-safe methods that protect the surface and joints. In California, coastal fog and salt spray can leave a gritty film on flagstone in places like Santa Monica or Monterey. Inland heat and irrigation overspray can bake on dust and form hard-water scale in areas like Sacramento or Riverside. Winter rain followed by shade can drive green algae and black mildew in the Bay Area and along the Central Coast. Oak pollen, leaf tannins, and acorn caps can cause brown staining under trees common in neighborhoods across Los Angeles and Orange County. The correct approach starts with identifying the stone type, the joint material, and the stain source before any chemical touches the patio. A soft-bristle scrub, controlled water pressure, and an alkaline cleaner for organic grime can clean safely without etching. A targeted rust remover is needed for orange iron stains near metal furniture feet or sprinkler components. An efflorescence treatment is used only when white, chalky mineral salts push up through grout or mortar after rainy weeks. Proper rinsing, runoff control, and dry-time planning matter in California because storm-drain rules and drought restrictions often limit excessive wash water.
Step 1: Identify your flagstone and the joint material before you wet-clean
Correct cleaning starts with stone and joint identification because chemistry and pressure that are safe for one surface can permanently damage another. Flagstone is a category, not a single material, so you must treat sandstone-based flagstone differently than slate or limestone.
Work through these quick checks:
- Stone type (most common in CA patios):
- Sandstone / quartz-rich flagstone: typically tolerates mild alkaline cleaners; avoid aggressive acids that can weaken some binders and leave a roughened face.
- Slate flagstone: avoid high-pressure tips that can lift layers (spalling/delamination); keep water pressure controlled.
- Limestone/travertine sold as “flagstone”: calcium carbonate-based and acid-sensitive; vinegar and muriatic acid etch immediately.
- Joint type:
- Polymeric sand: can be eroded by pressure washing and by aggressive degreasers.
- Mortar/cement grout: vulnerable to acids (efflorescence “removers” are often acidic and can damage joints).
- Decomposed granite (DG)/soil joints: will wash out easily; use minimal water and brush extraction.
- Sealer present: darkening when wet and rapid beading suggests topical or penetrating sealer; harsh chemicals can haze or strip it unevenly.
If you are unsure whether the stone is carbonate-based (limestone/travertine), do not use acidic products. When in doubt, keep cleaning pH-neutral to mildly alkaline and test first.
Step 2: Dry removal first—your best defense against slurry, scratches, and runoff
Remove loose grit and organic debris before introducing water so you don’t grind sand into the surface or create dirty runoff. This step also reduces how much wash water you need, which matters under drought rules and storm-drain protections.
Use a staged dry-clean approach:
- Sweep thoroughly with a stiff outdoor broom, especially at edges and low spots where sand collects.
- Blow out joints with a leaf blower (low-to-medium setting) to lift pollen, acorn caps, and decomposed leaf matter.
- Spot-scrape stuck organics (lichen pads, gum, sap) with a plastic putty knife to avoid gouging.
- Pre-contain debris by bagging leaves and scraping piles rather than hosing them into the street.
California runoff compliance is typically enforced locally through municipal stormwater programs under the federal Clean Water Act framework. The practical rule is consistent statewide: do not allow wash water containing detergents, dirt, or chemicals to enter storm drains. Use dry methods whenever possible to reduce the amount of wastewater you must capture.
Step 3: Pre-wet and test a small area to confirm the cleaner and the brush are safe
A controlled test spot prevents widespread etching, discoloration, or joint loss. Pre-wetting reduces the stone’s absorption so cleaning solution stays closer to the surface where grime lives.
Do the test like a pro:
- Pick a hidden corner and pre-wet with a light mist (not flooding).
- Apply your chosen cleaner at label dilution; avoid “extra-strong” mixes on first pass.
- Dwell time: keep the area wet for 5–10 minutes (do not allow drying in sun or wind).
- Agitate with a nylon soft-bristle deck brush.
- Rinse completely and allow the spot to dry; confirm no lightened patches, haze, or joint erosion.
If the test area becomes lighter or rougher, stop and switch to a milder product and softer agitation.
Step 4: General wash for soil film, fog grit, and irrigation dust (safe baseline method)
Most patios only need a pH-neutral to mildly alkaline wash plus agitation to remove atmospheric film, embedded soil, and organic residue. This is the lowest-risk method for routine maintenance across coastal and inland California conditions.
Use this standard procedure:
- Pre-wet the patio in manageable sections (e.g., 50–100 sq ft at a time).
- Apply a pH-neutral stone cleaner or a mild alkaline cleaner labeled for natural stone; follow dilution directions.
- Scrub with a soft-bristle brush, focusing on textured faces and joint edges where grime holds.
- Rinse with controlled water using a garden hose with a fan nozzle. Avoid blasting joints.
- Vacuum or squeegee runoff toward landscaping (only if the cleaner is plant-safe) or capture it for disposal to a sanitary sewer cleanout where allowed by local rules.
Pressure washing guidance (when you must use it): use the widest fan tip and the lowest effective pressure, keep the wand moving, and do not aim directly into joints. Concentrated jets can dislodge polymeric sand, erode mortar, or delaminate slate.
Step 5: Remove algae, mildew, and lichen without etching the stone
Green algae and black mildew respond best to alkaline cleaning plus mechanical agitation, followed by thorough rinsing. For heavy growth in shade zones, a stone-safe outdoor biocide can be used, but only with runoff containment.
Process for organic growth:
- Choose the right chemistry:
- Preferred: alkaline cleaner formulated for stone and exterior organics.
- Avoid on limestone/travertine: acidic “mold removers” and any vinegar solutions.
- Scrub pattern: crosshatch strokes (north-south then east-west) to lift growth from texture.
- Detail edges: use a handheld nylon brush at wall lines and step risers where biofilm starts.
- Rinse twice: one rinse to remove loosened biomass, a second rinse to flush residues out of pores and joints.
For recurring algae caused by persistent shade and irrigation overspray, correct the moisture source: redirect sprinkler heads, reduce overspray, and increase drainage away from low areas.
Step 6: Treat specific stains with the matching remover (rust, tannins, oil, efflorescence)
Stain removal is chemical-specific: using the wrong product can lock stains deeper or damage the stone face. Treat stains after basic washing so you can see what remains.
Rust stains (orange/brown near metal furniture, nails, or sprinkler parts)
Rust requires a dedicated rust remover designed for natural stone because household acids can etch and still fail to fully dissolve iron staining. Always use a product labeled safe for the stone type and test first.
- Do: use a stone-safe rust remover, short dwell times, and thorough rinsing.
- Don’t: use muriatic acid or vinegar; don’t wire-brush stone (can leave metal streaks that re-rust).
- Prevention: add plastic feet to furniture, replace rusting steel with stainless, and isolate metal drip points.
Tannin stains (brown/tea-colored under oaks, planters, leaf piles)
Tannins are organic dyes that often need repeated alkaline cleaning and controlled dwell time. Immediate removal of leaf piles and acorn caps is the most effective prevention.
- Steps: pre-wet → apply alkaline cleaner → dwell 5–10 minutes → scrub → rinse → repeat if needed.
- If staining persists: use a stone-safe stain remover/poultice labeled for organic staining and keep it within the stained footprint.
Grease and food oils (BBQ zones, outdoor kitchens)
Oil needs absorption and emulsification; simple soap-and-rinse often spreads it. Use an oil-specific degreaser labeled safe for natural stone, or a poultice if the oil has penetrated.
- Fresh spills: blot (do not wipe), apply absorbent (clay/kitty litter), then clean with stone-safe degreaser.
- Set-in stains: use a poultice and cover to slow drying; remove and rinse per label.
Efflorescence (white chalky salts pushing up through joints or mortar)
Efflorescence is mineral salt migration driven by moisture movement through cementitious materials. The fix is moisture control first; chemical “salt removers” can damage calcium-based stones and degrade grout if misused.
- Confirm it’s efflorescence: powdery white residue that reappears after rain or irrigation.
- First pass: dry brush and vacuum; avoid adding more water.
- Moisture correction: improve drainage, reduce irrigation overspray, and repair cracks that feed water below the patio.
- Chemical treatment: only use an efflorescence remover that is explicitly approved for your stone type, and neutralize/rinse per label requirements.
Cleaning specifications table for California patios (chemistry, tools, and runoff control)
This table summarizes what to use, what to avoid, and the local compliance considerations that most commonly apply in California cities. Use it as a checklist before starting a wash.
| Feature / Metric | Specifications | Local Guidelines |
|---|---|---|
| Routine cleaner pH range | Use pH-neutral to mildly alkaline cleaners labeled for natural stone; avoid acids on limestone/travertine. | Minimize chemical discharge; keep wash water out of storm drains per municipal stormwater rules under the Clean Water Act framework. |
| Agitation tools | Nylon soft-bristle deck brush; handheld nylon detail brush for joints and edges; plastic scraper for stuck debris. | Avoid metal brushes that can leave rusting fragments; control debris so it is bagged, not washed into gutters. |
| Water application | Pre-wet to reduce absorption; rinse using a fan-spray hose nozzle; use lowest effective pressure if pressure washing. | Follow local water-use restrictions; schedule cleaning during allowed watering/usage periods if your municipality limits outdoor water use. |
| Stain-specific removers | Rust remover for iron stains; poultice for oils and tannins; efflorescence treatment only after confirming salt migration. | Contain and properly dispose of wastewater; never rinse chemical solutions into storm drains. |
Joint care: protect polymeric sand, mortar, and grout while cleaning
Most patio damage occurs at the joints, not the stone surface, because joint materials are softer and easier to erode. Cleaning should lift soil from joint edges without excavating the joint itself.
Best practices by joint type:
- Polymeric sand joints:
- Do not use a narrow pressure washer tip.
- Keep rinse water light and controlled.
- If joints become low, re-top with polymeric sand per manufacturer directions and allow proper cure time.
- Mortar/cement joints:
- Avoid acidic cleaners; they dissolve cement paste and can expose aggregate.
- Brush-clean first; use mild cleaners only.
- If joints are cracked or missing, repair before sealing to prevent water intrusion and efflorescence cycling.
- Soil/DG joints:
- Use minimal water; vacuum extraction is safer than rinsing.
- Regrade and compact joint fill after cleaning to prevent washouts.
If you want a deeper understanding of grout behavior and why it fails under harsh chemistry, see grout fundamentals and how cementitious joints interact with moisture and salts.
Rinsing, wastewater capture, and dry-time planning (critical in California)
Proper rinsing prevents residue haze and rapid re-soiling, while runoff control prevents violations and landscape damage. Dry-time planning is essential because sun, wind, and coastal fog change dwell time and cure windows.
Use these controls:
- Rinse until water runs clear from each section before moving on; residues attract dirt and can leave sticky films.
- Block storm paths with a berm (old towels, sand snakes, or inflatable drain covers) so water cannot reach the gutter.
- Capture slurry with a wet vac and discharge to a sanitary sewer connection (e.g., an interior drain) only where locally allowed.
- Pick the right day:
- Avoid midday heat inland (fast drying can streak).
- Avoid foggy evenings on the coast (slow drying can encourage algae rebound).
- Do not clean right before rain if you plan to seal.
When sealing makes sense—and when it causes problems
Sealing can reduce staining and simplify maintenance, but it is not a substitute for cleaning or moisture correction. Applying sealer over trapped moisture, salts, or residues can cause whitening, hazing, or peeling.
Use these decision rules:
- Consider sealing if: the patio stains easily from BBQ oils, leaf tannins, or planter runoff; or the stone is porous sandstone.
- Delay sealing if: efflorescence is active, joints are failing, or the patio has not dried fully after cleaning.
- Choose the right product:
- Penetrating/impregnating sealer: preferred for most natural stone outdoors because it does not form a slippery film.
- Topical coatings: can alter slip resistance and may whiten or peel outdoors; use only if specifically rated for exterior stone and your exposure conditions.
When DIY stops being efficient: deep cleaning, stain correction, and surface restoration
Professional restoration is warranted when staining is set deep, joint loss is widespread, or prior cleaning etched or roughened the surface. Advanced work uses calibrated pressure, stone-safe chemistry, and—when needed—abrasive refinement that restores texture without destroying the face.
Signs you should escalate:
- Persistent black staining that returns quickly after cleaning (biofilm embedded in pores).
- Large rust shadows from furniture or metal irrigation components.
- White haze or chalking after attempted “salt removal.”
- Widespread joint erosion after pressure washing.
For patios that need a higher level of exterior restoration beyond routine washing, consider Flagstone Cleaning to address embedded soil, organics, and stain correction using stone-appropriate methods.
If your cleaning plan includes floors and joints across multiple hard surfaces, the workflow principles in mastering floor cleaning techniques translate well to outdoor stone: remove dry grit first, test chemistry, agitate, then rinse and recover wastewater.
California-proof maintenance schedule (prevents most staining and algae)
A simple schedule prevents the majority of patio staining by interrupting the moisture–organic–mineral cycle that drives discoloration. Frequency should be adjusted upward for shade, coastal fog, heavy irrigation, and tree cover.
- Weekly: sweep/blow off leaves, oak pollen residue, and soil; clear planter runoff paths.
- Monthly (or as needed): light wash with pH-neutral stone cleaner and soft brush; rinse carefully.
- Seasonally:
- Inspect joints for loss; re-top polymeric sand if low.
- Check sprinkler overspray and adjust heads to keep constant moisture off stone.
- Spot-treat algae in shaded zones before it spreads.
- Annually (high exposure patios): evaluate whether a penetrating sealer should be renewed based on water absorption and staining behavior.
Clean stone, intact joints, controlled runoff: the durable result
A properly cleaned flagstone patio is achieved by matching the method to the stone, the joints, and the stain source—then controlling water pressure, chemistry, and rinse recovery. When you dry-remove grit first, use pH-safe cleaners, treat stains with targeted removers, and keep wastewater out of storm drains, you protect both the patio surface and California compliance requirements while extending the life of the installation.
Frequently Asked Questions
Stop Guessing—One Wrong Cleaner or Pressure Tip Can Permanently Damage Your Flagstone
Outdoor flagstone looks tough, but it’s surprisingly easy to ruin. Use the wrong chemical and you can etch calcium-based stone, strip sealer unevenly, or bleach patches that never match again. Hit it with too much pressure and you’ll blast out polymeric sand, crater mortar joints, or delaminate slate—then you’re not “cleaning a patio,” you’re paying to rebuild it.
And in California, the risk isn’t just cosmetic. Dirty wash water and chemical runoff can’t go to the storm drain. That means DIY pressure washing can turn into a compliance headache fast—especially if you’re rinsing organics, grime, and cleaners toward the street. Add coastal salt film, irrigation scale, algae rebound in shade, and tannin stains under trees, and suddenly you’re stuck in a cycle of re-staining, re-washing, and gradual surface damage.
A local pro knows how to identify the stone, protect the joints, choose pH-safe chemistry, control dwell time, and recover rinse water so you get a clean result without etching, washouts, haze, or callbacks. If you want it done once—and done right—bring in the team that restores stone for a living.


